Step Five: Pliable, Sculptable Plaster

Earthen Plasters are so soft and sculptalbe, Nathan and I had a hard time breaking away to take pictures. Our plaster was composed of Two parts fine sand; Two parts clay-rich soil, sifted through 1/2" hardware cloth; One part cooked flour paste*; One part finely chopped straw (about 1/2" pieces); and enough water to make it roll into a big, shiny, strawy burito.
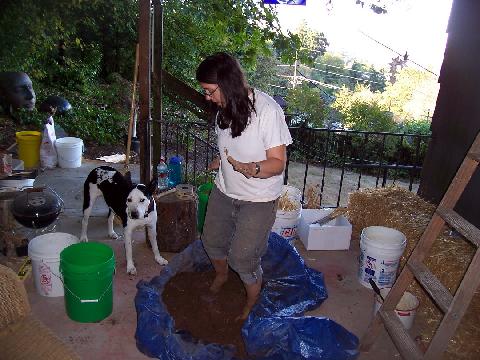
It felt like... Imagine you are in a kingergarten classroom. You pick up a big wad of salted play-dough and carry it over to the sand box. You roll it all around in the sand and engrain it completely until when you squish the playdough, you can hear the sand squeak and crunch.
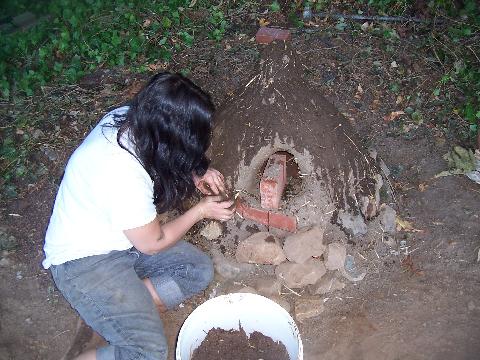
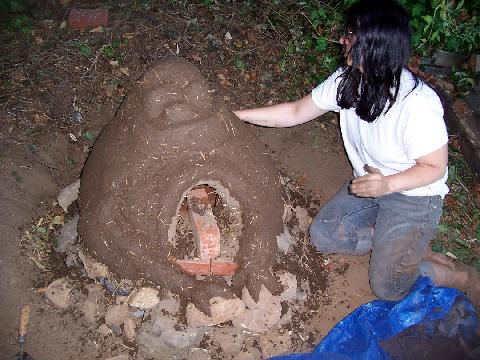
1/2 Hodag and 1/2 Big Foot was the shape we were going for. We knew we wanted another layer of sculpting plaster, so we got the basics formed so we would have a place to work from.
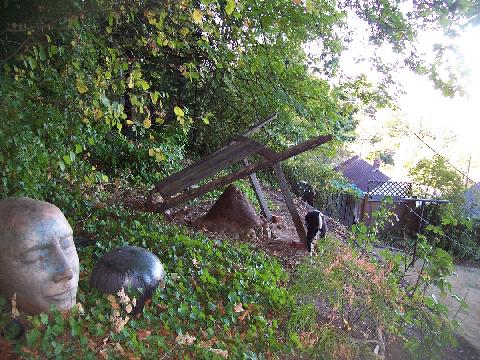
While I was screening the soil and prepping the area, Nathan gathered scrap wood and banged together this very cool shelter. Earthen structures need to be protected from direct rain. This simple structure, with help from the trees it's built under won't keep it absolutely out of the elements, but will provide enough shelter to keep it from direct rain.
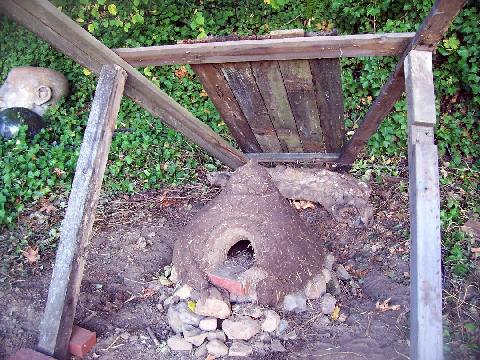
Rain is the only real concern here in Portland. For the mid-west, you would need a four-walled structure to protect it from the cold. Cob lets air flow through, so moisture does too, to a certain extent. That moisture freezes, expandes and the cob crumbles all to pieces after time.
This layer was by FAR the most fun to work with. At this point, we were excited about letting the shape emerge and then coloring it. I went out and bought some cheap powdered green, blue and deep brown clay pigments as well as a jar of fine mica to add later.
The oven is technically done when we make a door, but the sculpting and experimenting with these final layers was half of the appeal of building this baby in the first place.
*Cooked Flour Paste:
1/2 fill a pot with water and put it on to boil. Mix flour and cold water together to get the constistency of smooth, thick pancake batter. When the pot is boiling rapidly, slowly pour and whisk the "batter" into the water, maintaining a rolling boil. (Not Easy!) When it is about as thick as gravy and slightly transluscent, remove from heat and cool before stomping it into the mix. It totally STICKS to your feet. It is, after all, paste.
|

